

Jeff Kurkjian Teaches You How To Replace Those Bi-Fold Closet Doors
He and his wife couldn’t STAND the look of them so he just had to replace them! But how? We could pay someone to replace them but with the price…

He and his wife couldn't STAND the look of them so he just had to replace them! But how? We could pay someone to replace them but with the price of work these days, it just wasn't in the budget. These things can get very expensive, especially with the price of lumber and labor these days!
So, Jeff Kurkjian said... "I'm gonna do it myself!!" Now, this isn't his first time, he's actually is known for making barn doors! Check this one out.
Jeff and Emily bought their house back in August of 2022 and have been slowly but surely renovating different rooms to their liking. The house itself was built in 1998 and most of it was updated by the previous owners but there are still some areas that need some serious work.
 [Jeff Kurkjian] via BMG Philadelphia
It is a four bedroom home, and three of those rooms (which excludes the master) have these exact bifold doors. They make a lot of noise when opening them, they don't exactly look good and they are original to the house.
This was by far the biggest project Jeff has taken on. Sure, he's built BARN doors but those just hang on the outside of the door frame, these doors have to perfectly fit into the door frame, that's a lot more pressure.
In this walkthrough, you will get some advice, some products to buy, some measurements but please keep in mind, this is an AMATEUR here! Jeff Kurkjian loves "do-it-yourself" projects however, he is always learning. In fact, if you have any advice on this project, you can follow and message him on Instagram and follow along with his other work!
Now let's take that, and try to make it into REAL CLOSET DOORS!! EEK!
If you want a video how-to, you can find it at the bottom of step-by-step.
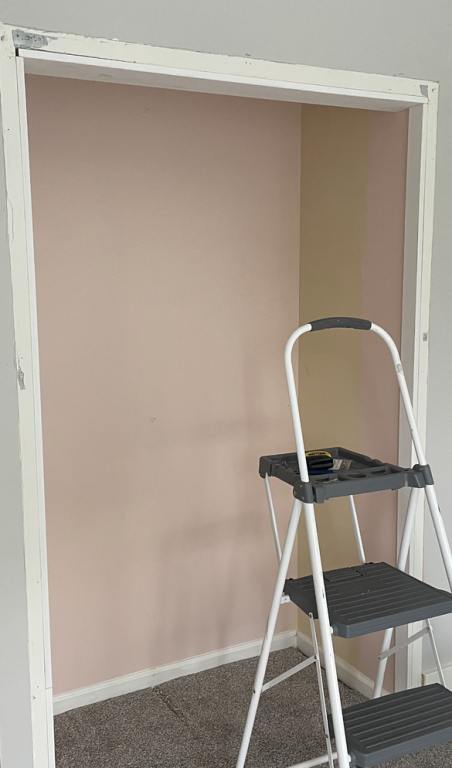
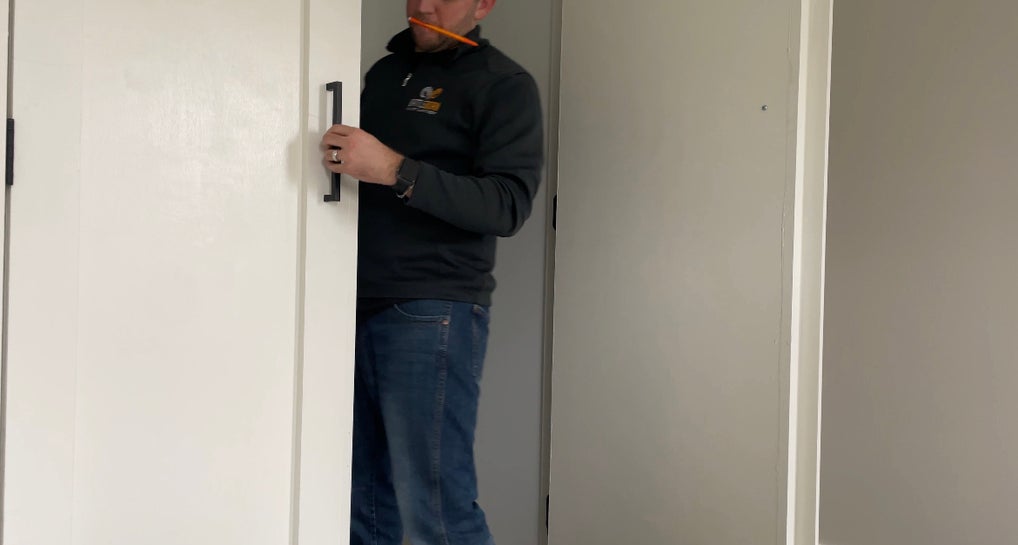
Here's What We Started With!!
Here's the before...
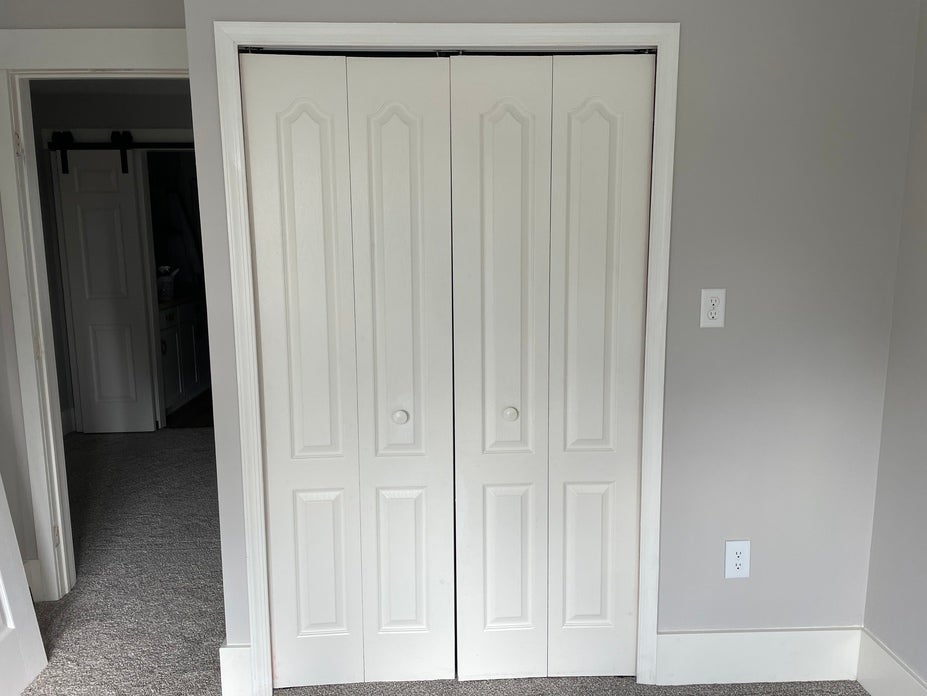 [Jeff Kurkjian] via BMG Philadelphia
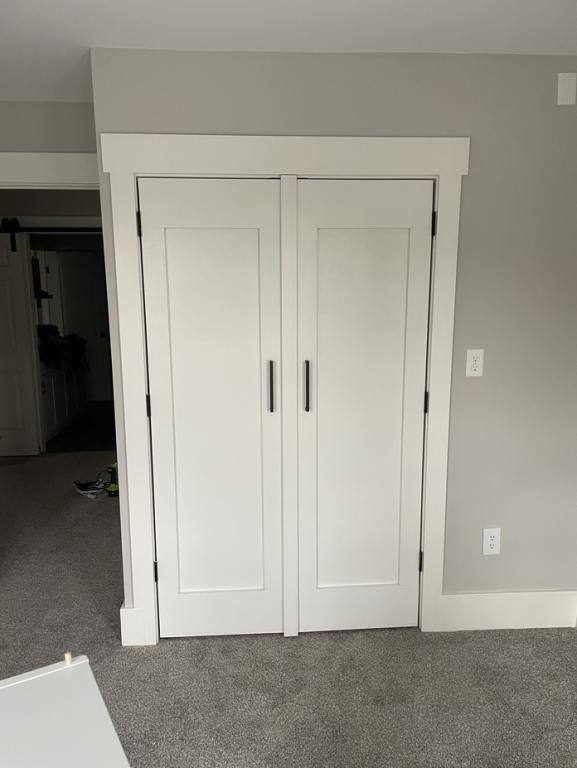
THIS Is What We Are Trying To End Up With!!
New french doors to replace those ugly, bifold doors!
 [Jeff Kurkjian] via BMG Philadelphia
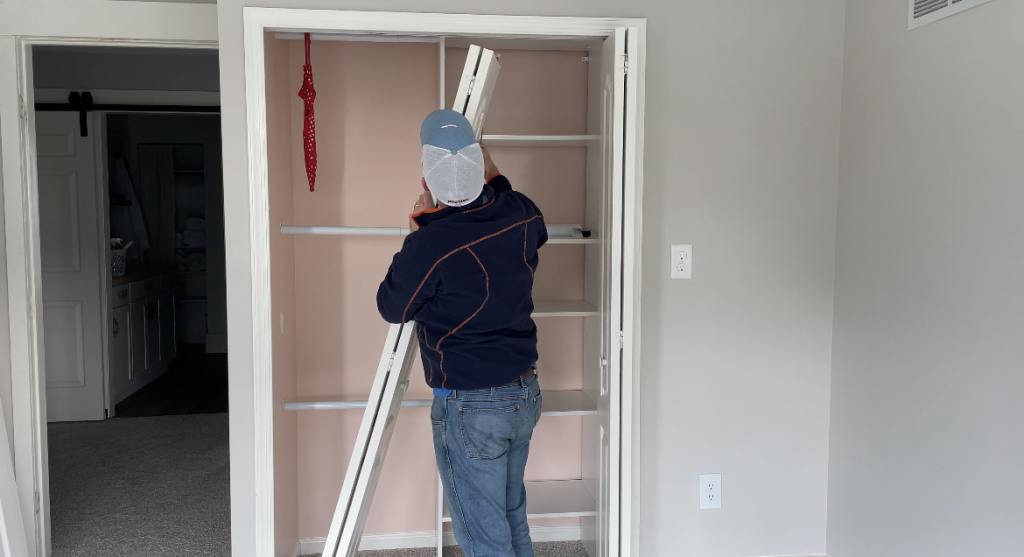
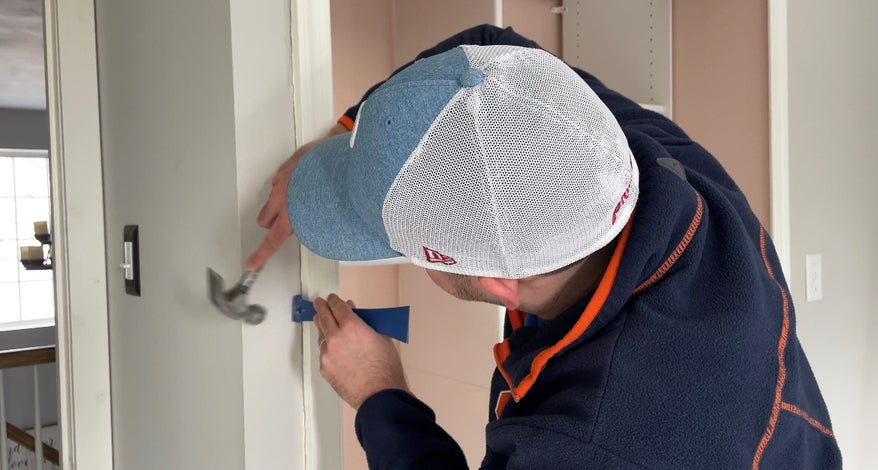
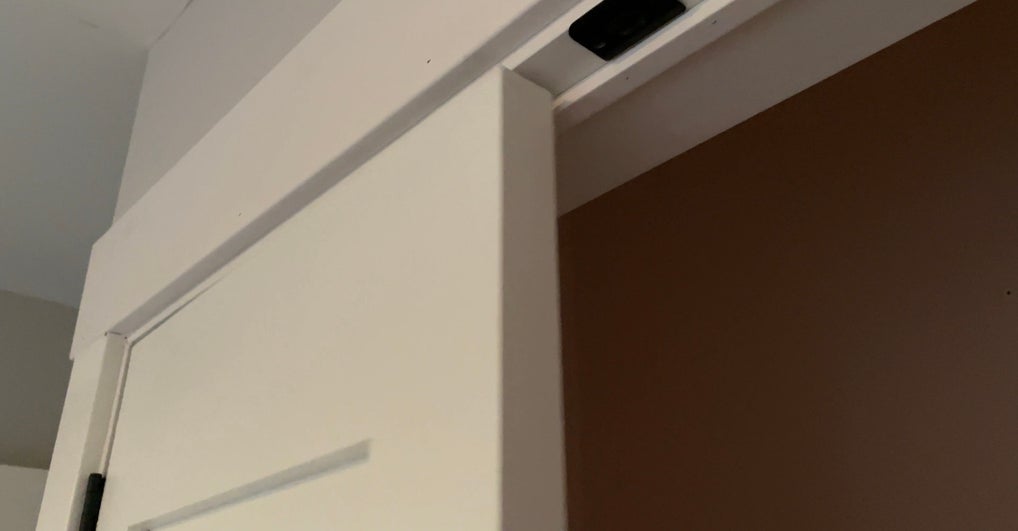
Step 1: Remove The Doors!
It's pretty simple, small screw holding the door to the bracket, unscrew that and remove the door from there!
 [Jeff Kurkjian] via BMG Philadelphua
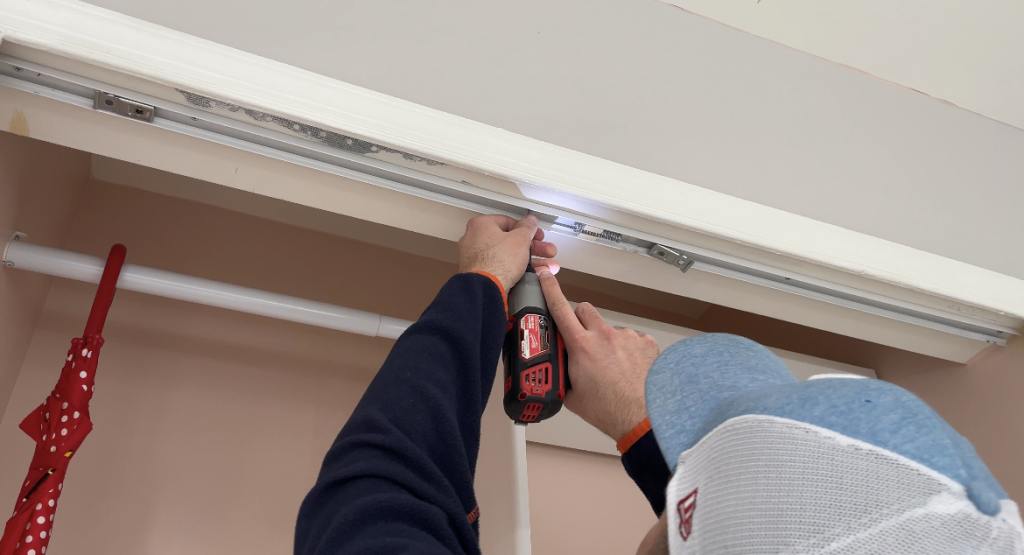
Step 2: Remove The Sliding Door Bracket
 [Jeff Kurkjian] via BMG Philadelphia
These are pretty easy to take out as well, just make sure your drill is charged and ready to go. I prefer to use my impact drill just because it gets the job quicker!
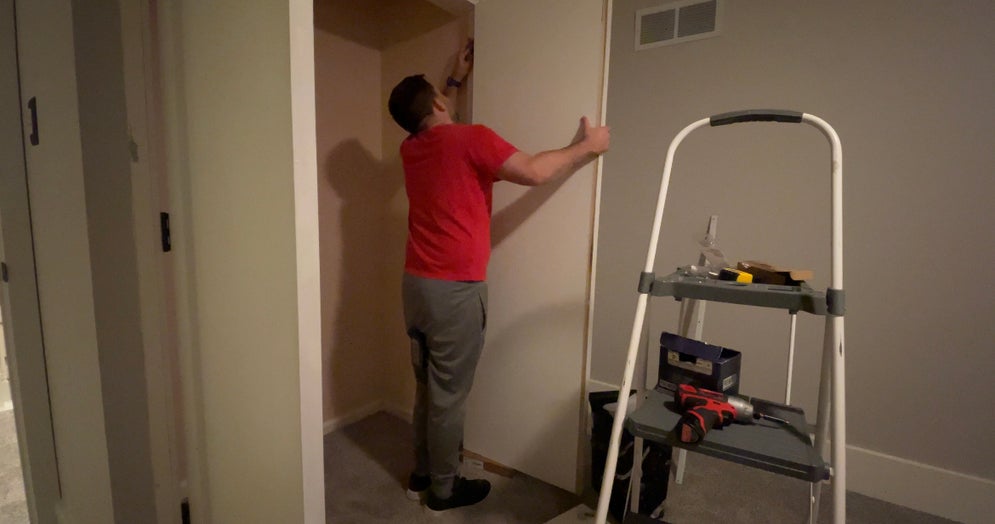
Step 3-1: Remove That Old Trim
First things first, to remove it properly, you have to cut between the wall and the trim so you don't take the paint off!
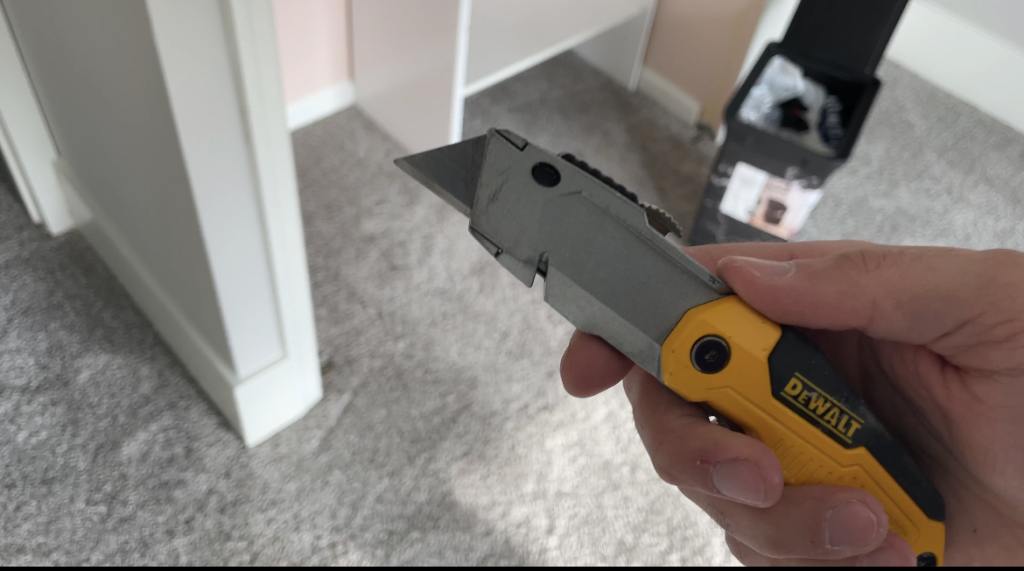 [Jeff Kurkjian] via BMG Philadelphia
Step 3-2: Remove That Old Trim
Now that you have cut between the wall and the trim, you should be ready to take off that trim!
 [Jeff Kurkjian] via BMG Philadelphia
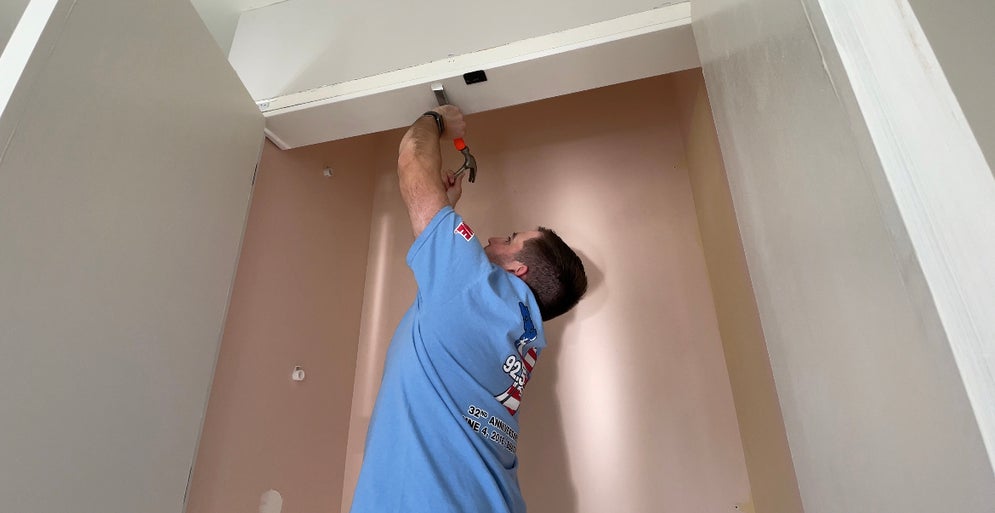
Step 4: Remove Excess Nails
When you remove baseboards or trim, sometimes you end up with excess nails sticking out, clean it all up, vacuum and you're ready for the next step!
 [Jeff Kurkjian] via BMG Philadelphia
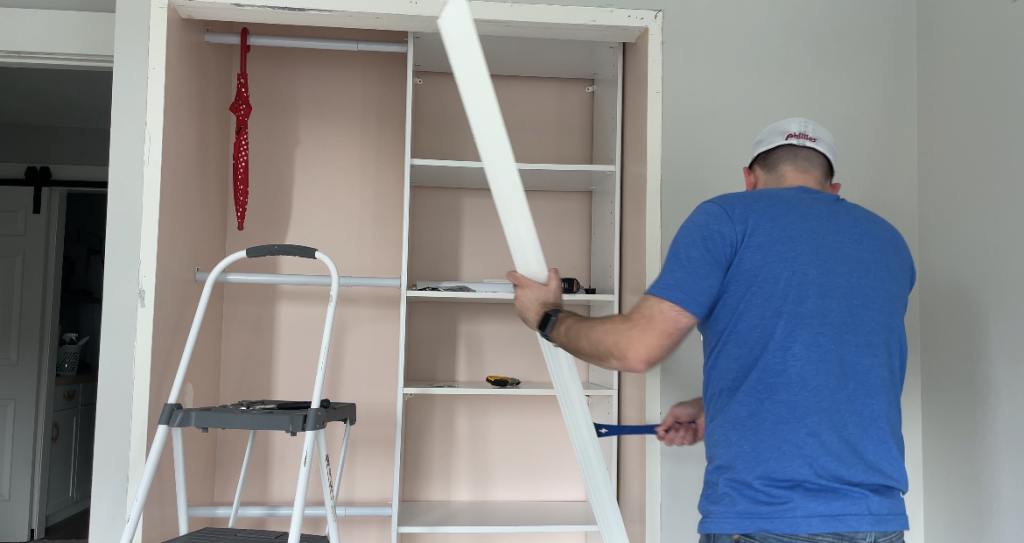
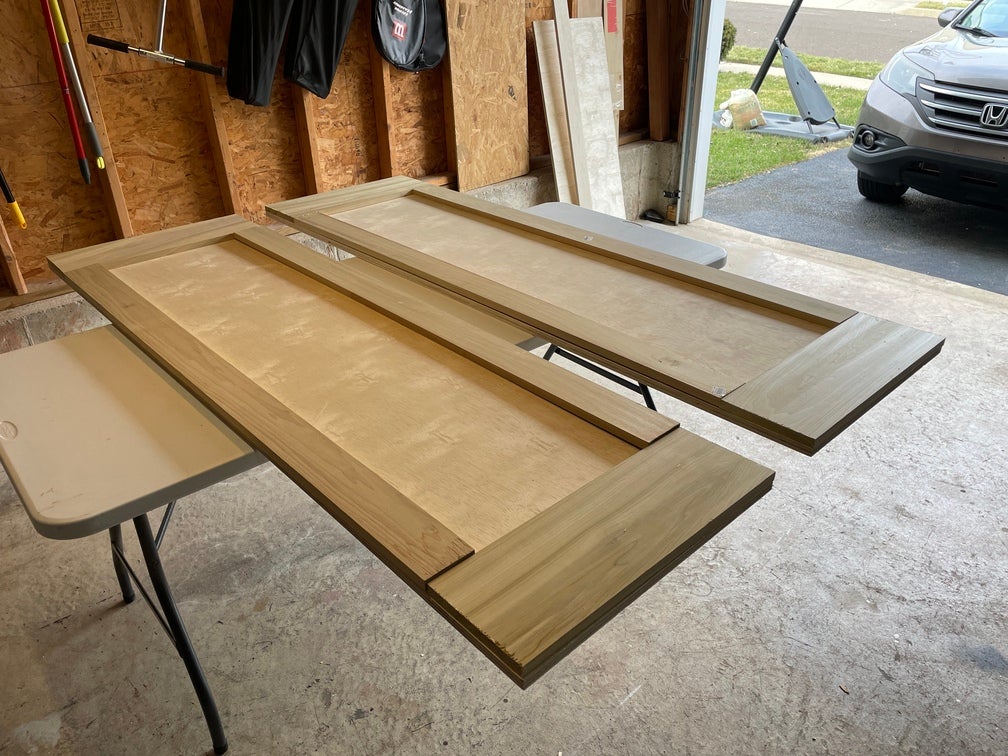
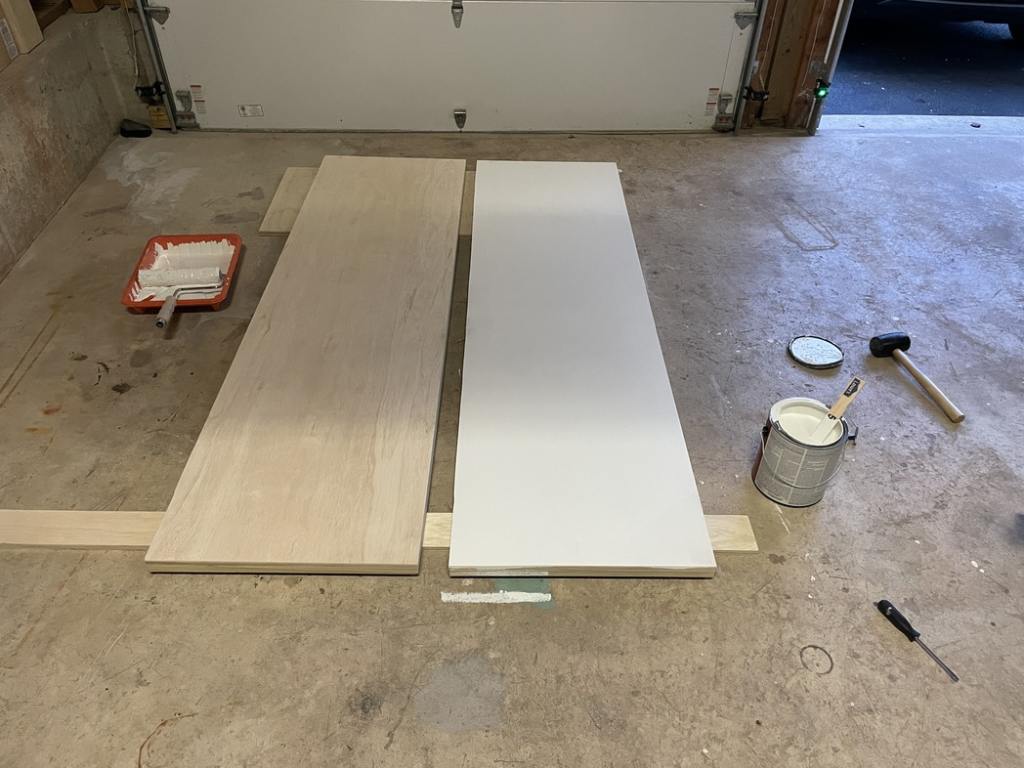
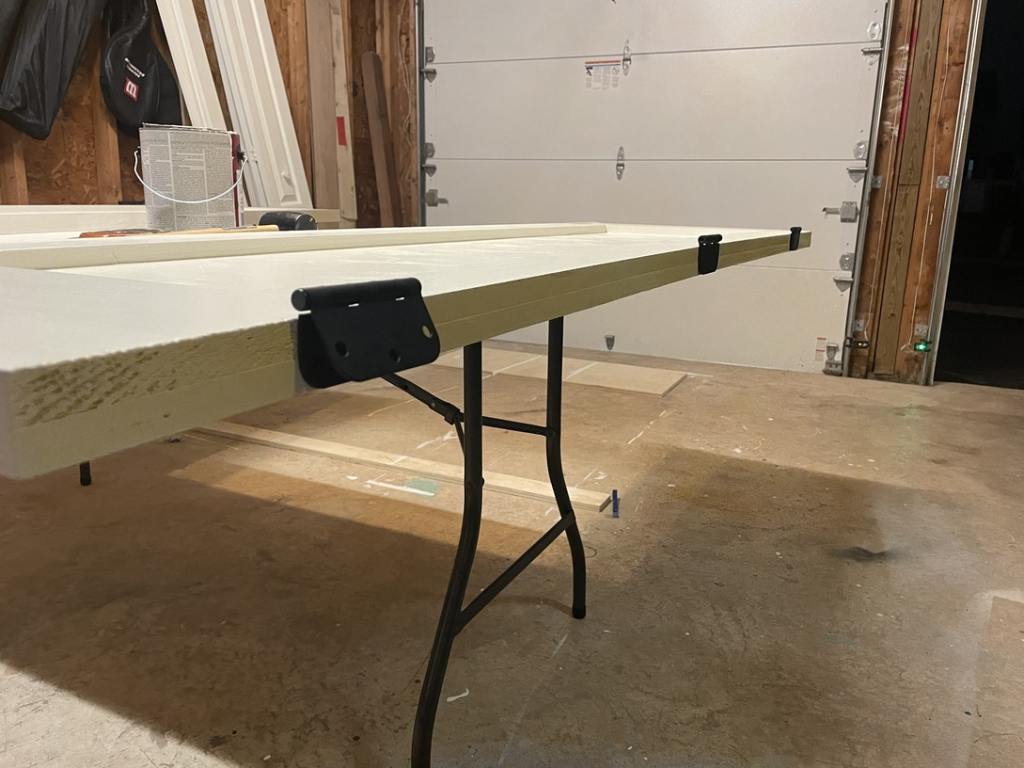
Step 5: Lay Our Your Wood!!
Now we get to the fun part, building the brand new doors!!
 [Jeff Kurkjian] via BMG Philadelphia
So measurements are always depending on your opening you're trying to fill but I will tell you what kind of wood I used!
The backing of the doors are 3/4" birch presanded plywood! Super easy to use. The two boards are 1x2 poplar presanded for the sides and 1x5 poplar presanded for the top and bottom.
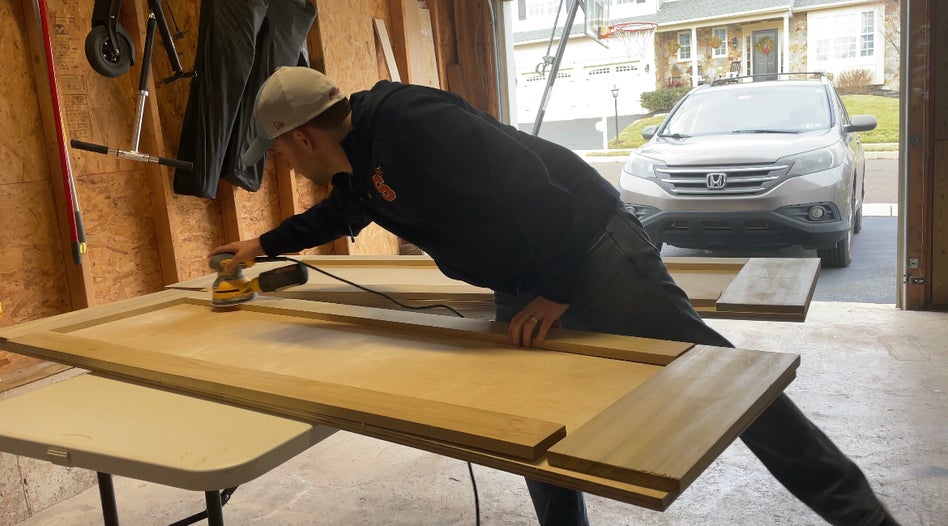
Step 6: SANDING!
LOTS of sanding. I am using a 220 grit sandpaper with my DeWalt sander.
 [Jeff Kurkjian] via BMG Philadelphia
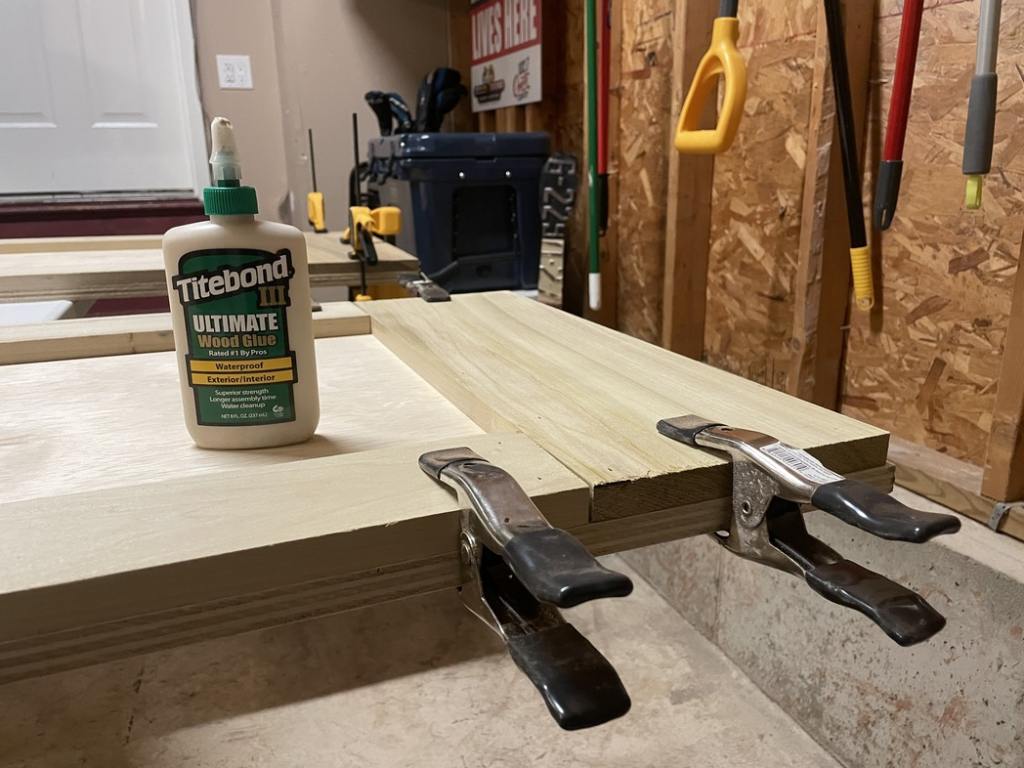
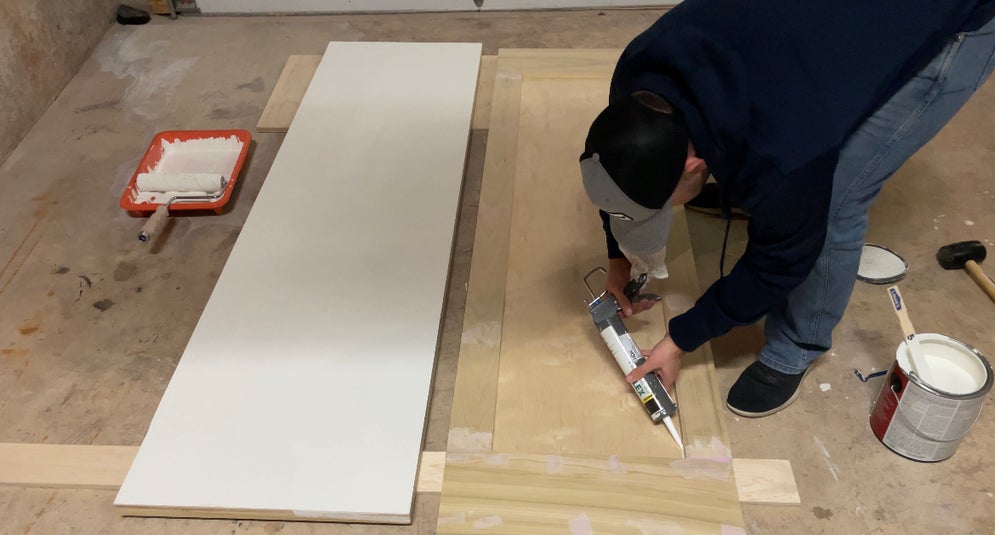
Step 7: Wood Glue and Clamp!
Use Titebond III, it's my favorite and has never let me down! Clamp that DOWN.
 [Jeff Kurkjian] via BMG Philadelphia
Here's The Exact Glue!
 [Jeff Kurkjian] via BMG Philadelphia
And here it is on Amazon!
https://www.amazon.com/Titebond-1413-Ultimate-Wood-8-Ounces/dp/B0001YS16U/ref=sr_1_9
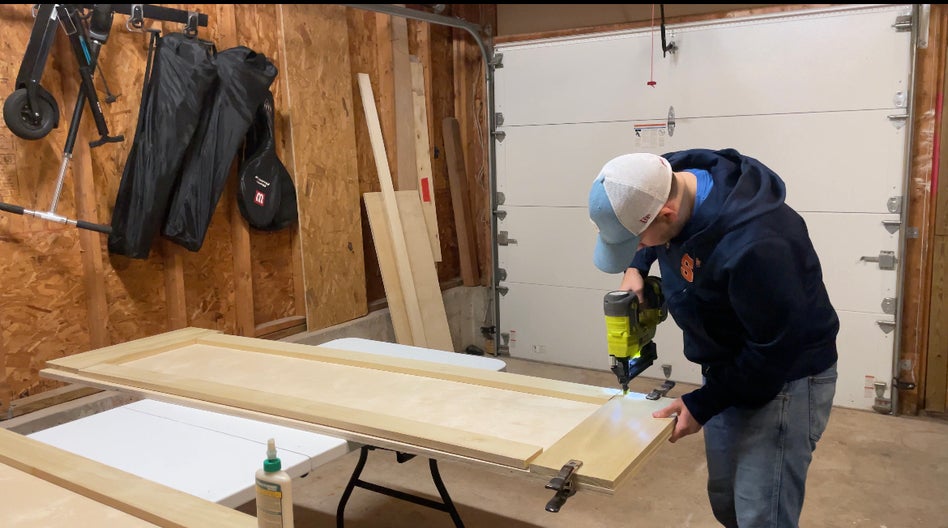
?tag=flexpress-no-tag-20&asc_source=browser&asc_refurl=https%3A%2F%2F925xtu.com%2Flisticle%2Fjeff-kurkjian-teaches-you-how-to-replace-those-bi-fold-closet-doors%2FStep 8: Lock It In With Brad Nailer
I love my electric Ryobi Brad Finish Nailer. So easy, don't need a big air pressure tank, all electric and so easy. I use 1-1/4 " finish nails.
 [Jeff Kurkjian] via BMG Philadelphia
Here's A Close Up On What I Use
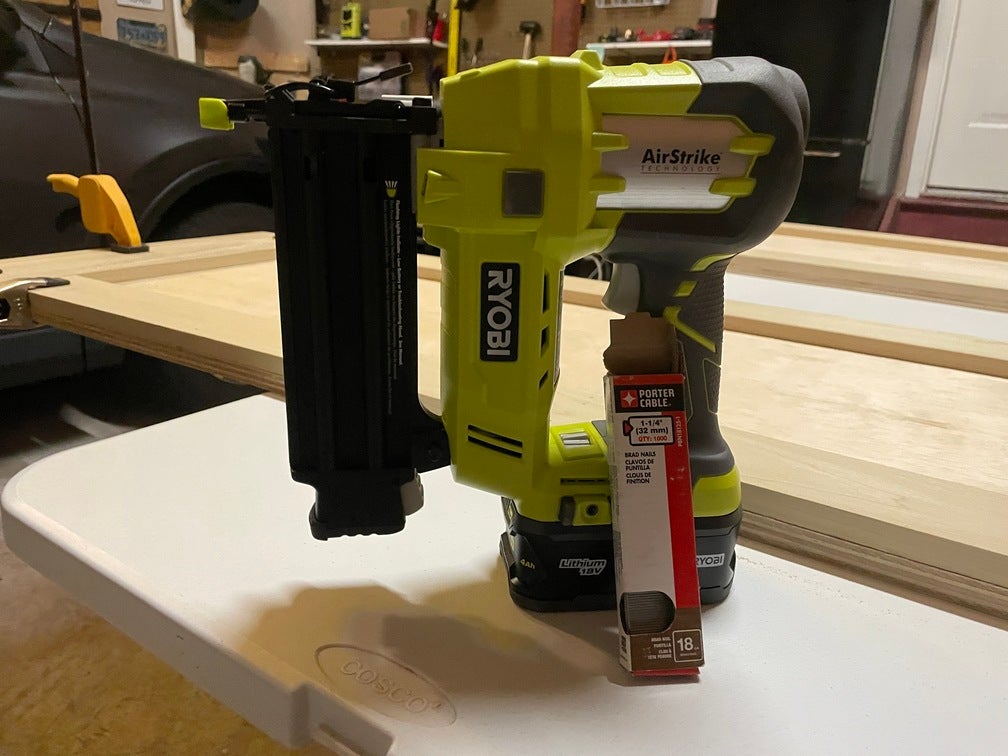 [Jeff Kurkjian] via BMG Philadelphia
Here it is on Amazon!
https://www.amazon.com/Ryobi-P320-Airstrike-Cordless-Included/dp/B00CRFEZFC/ref=sr_1_1
?tag=flexpress-no-tag-20&asc_source=browser&asc_refurl=https%3A%2F%2F925xtu.com%2Flisticle%2Fjeff-kurkjian-teaches-you-how-to-replace-those-bi-fold-closet-doors%2FStep 9: Painting The BACK
We are using Sherwin Williams Alabaster Semi-Gloss which matches my baseboards across the entire house.
 [Jeff Kurkjian] via BMG Philadelphia
Step 10: Fill Nail Holes and Caulk Meeting Points
This is super important. Filling those small nail holes will give you a much smoother finish. Plus, caulking the meeting points prevents moisture from warping the door over time.
 [Jeff Kurkjian] via BMG Philadelphia
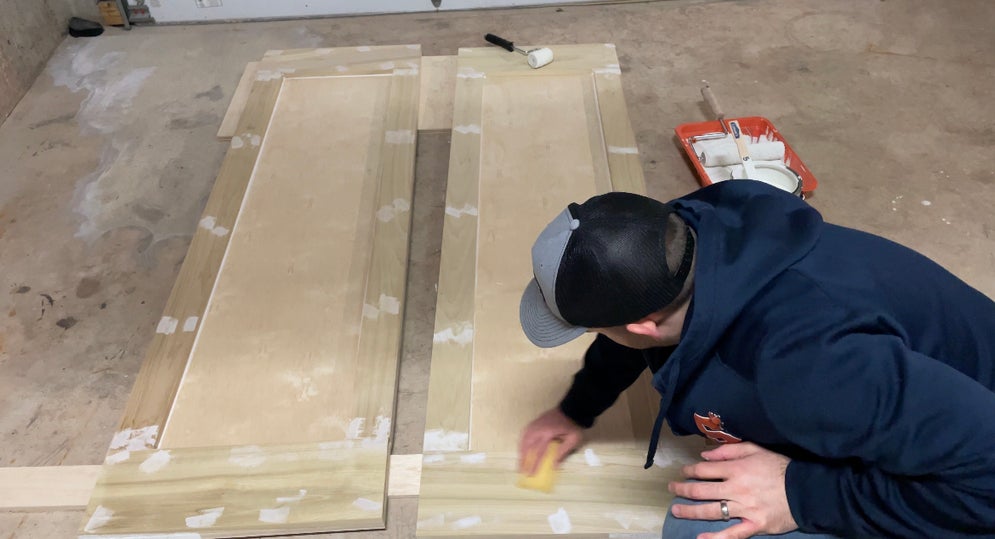
Step 11: Sand Down Nail Hole Fills And Other Imperfections
LAST SANDING, I absolutely promise!
 [Jeff Kurkjian] via BMG Philadelphia
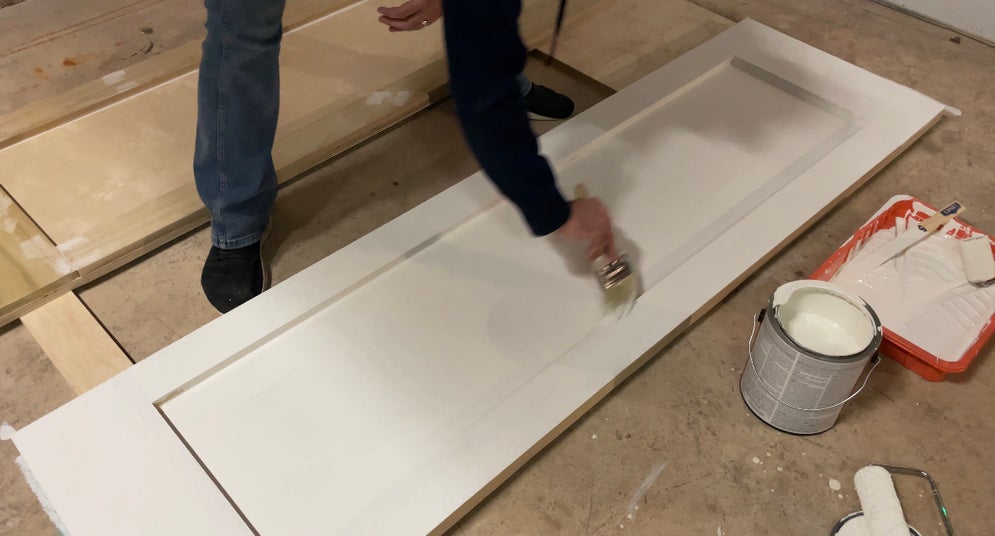
Step 12: Finish Up Painting
Obviously, this is the front of the doors so make sure to take your time!
 [Jeff Kurkjian] via BMG Philadelphia
Step 13: Attach Hinges
You want the bottom hinge about 10" from the bottom of the door and the top hinge about 5" from the top. Then the middle hinge in the middle between those.
 [Jeff Kurkjian] via BMG Philadelphia
Step 14: Create Clean Door Jamb
This makes for a cleaner look and prevents more painting lol Also, it isn't perfect but most of it will will be covered by trim!
 [Jeff Kurkjian] via BMG Philadelphia
Step 15: Hang That Door!
Make sure that you make them even on both side, line up the hinges on the door jamb exactly!
 [Jeff Kurkjian] via BMG Philadelphia
Step 16: Setup Strike Plate
This is so the door actually clicks into place since these are french doors.
 [Jeff Kurkjian] via BMG Philadelphia
Step 17: Finish Off The Trim Around The Door
Gotta make it look CLEAN!
 [Jeff Kurkjian] via BMG Philadelphia
Step 18: Attach Those Handles
I like to wait to attached them until the doors are hung to ensure I like where they hang!
 [Jeff Kurkjian] via BMG Philadelphia
Step 19: Paint That Closet
Okay, I know I said that painting would be over. Or did I say sanding was over? ANYWAY, we obviously wanted to give this closet a bright new look! Big shoutout to our friends at Lapp Painting, they did an amazing job because I was ALL painted out.
 [Jeff Kurkjian] via BMG Philadelphia
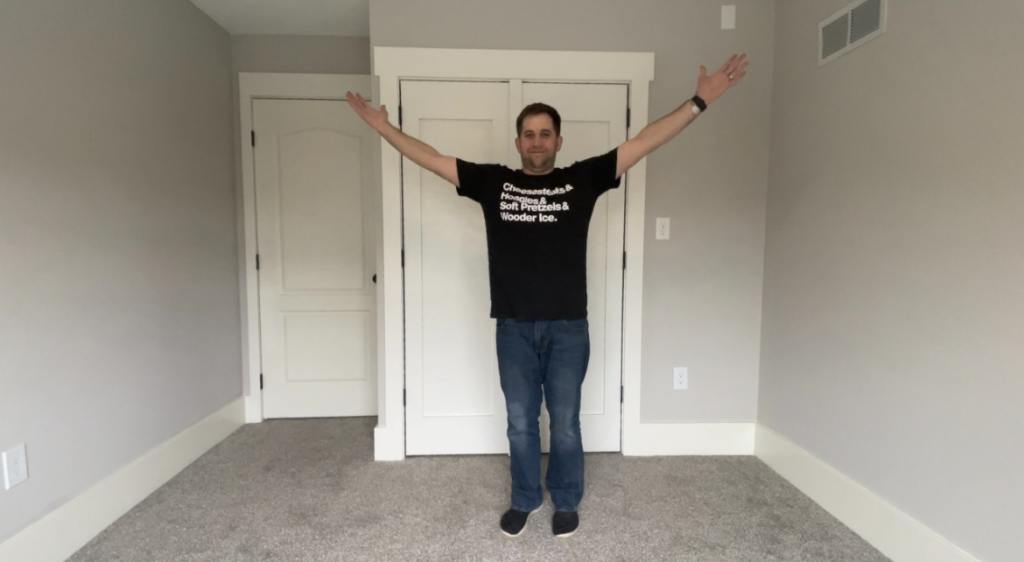
Step 20: CELEBRATE!!
YOU DID IT! So smile :)
 [Jeff Kurkjian] via BMG Philadelphia
Watch The How-To Video!
Check out and share with friends!


